Quick Start
1. Sign in
Go to: https://smartycards.cla.umn.edu to sign in.
2. Create a deck

Creating a deck of cards is easy.
- Click
Create Deck. - Enter your deck name and description.
- Tap the deck's → to see the deck contents.
- Add cards by clicking the
Create Cardbutton.
3. Create a card in your deck

Create a card by clicking "create card". On the card edit screen, you can add one or more blocks of media to each side of the card:
- text
- image
- audio
- video
- math (LaTeX)
- embeds (iframes)
TIP
Drag the block handle icon to move blocks around.
TIP
Highlight text to add formatting or links.
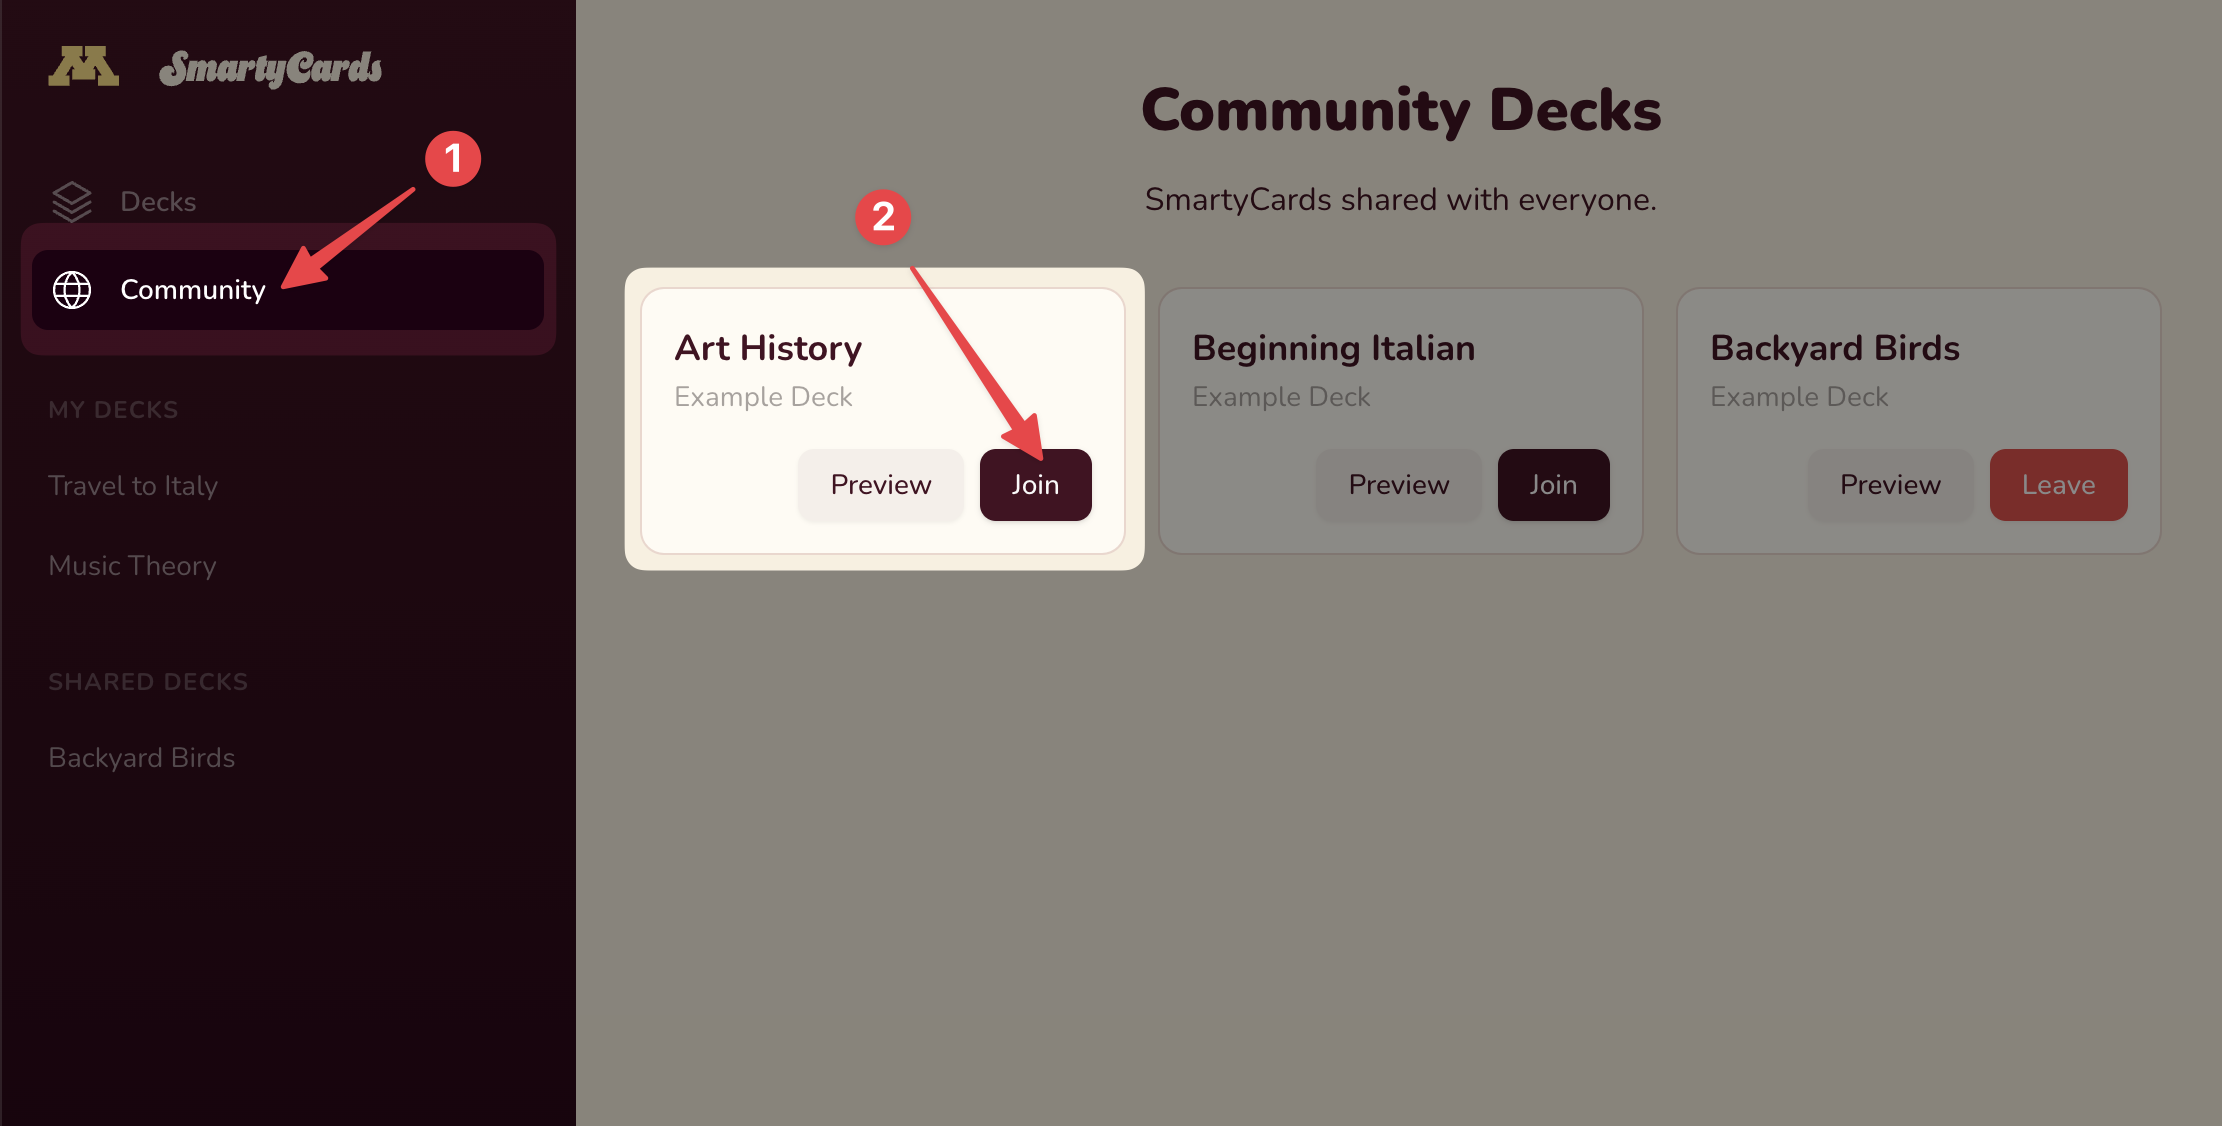
4. Join a community deck (recommended)
It's probably easiest to explore SmartyCards with a pre-created deck. You can find a few example decks under Menu > Community Decks . Click Join.
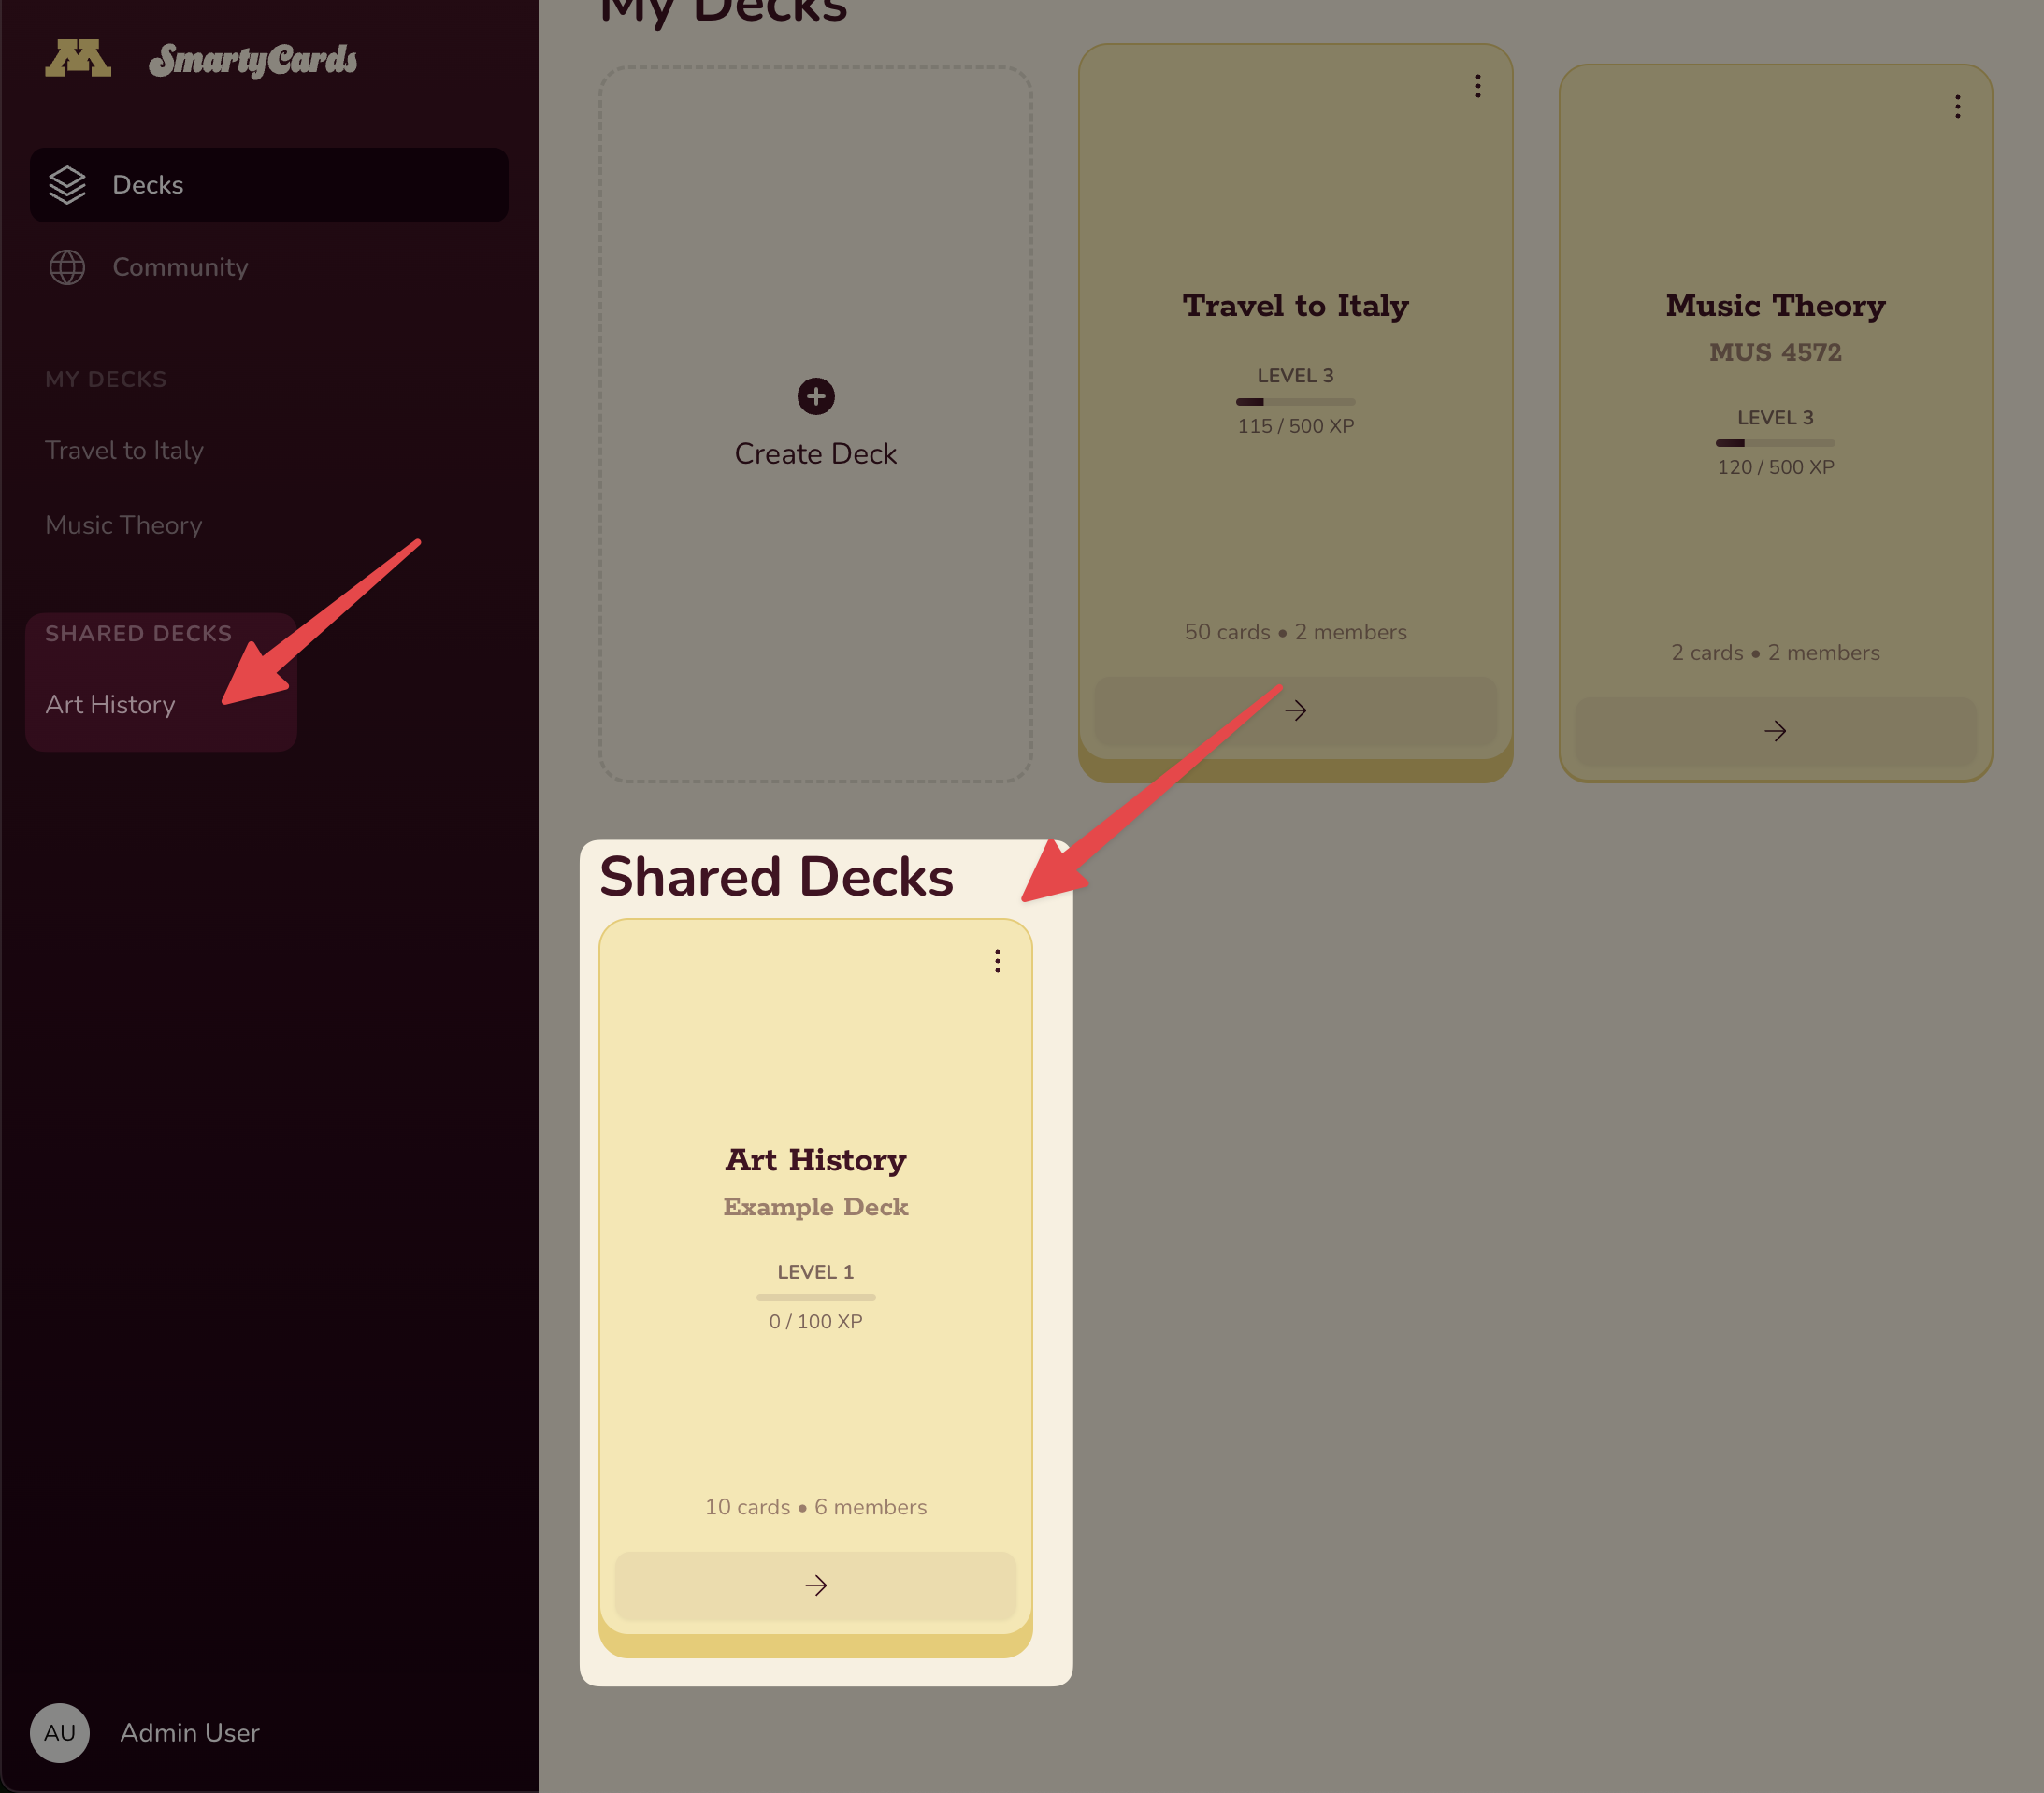
After joining, you should see the deck listed under your Shared Decks.
5. Practice and play
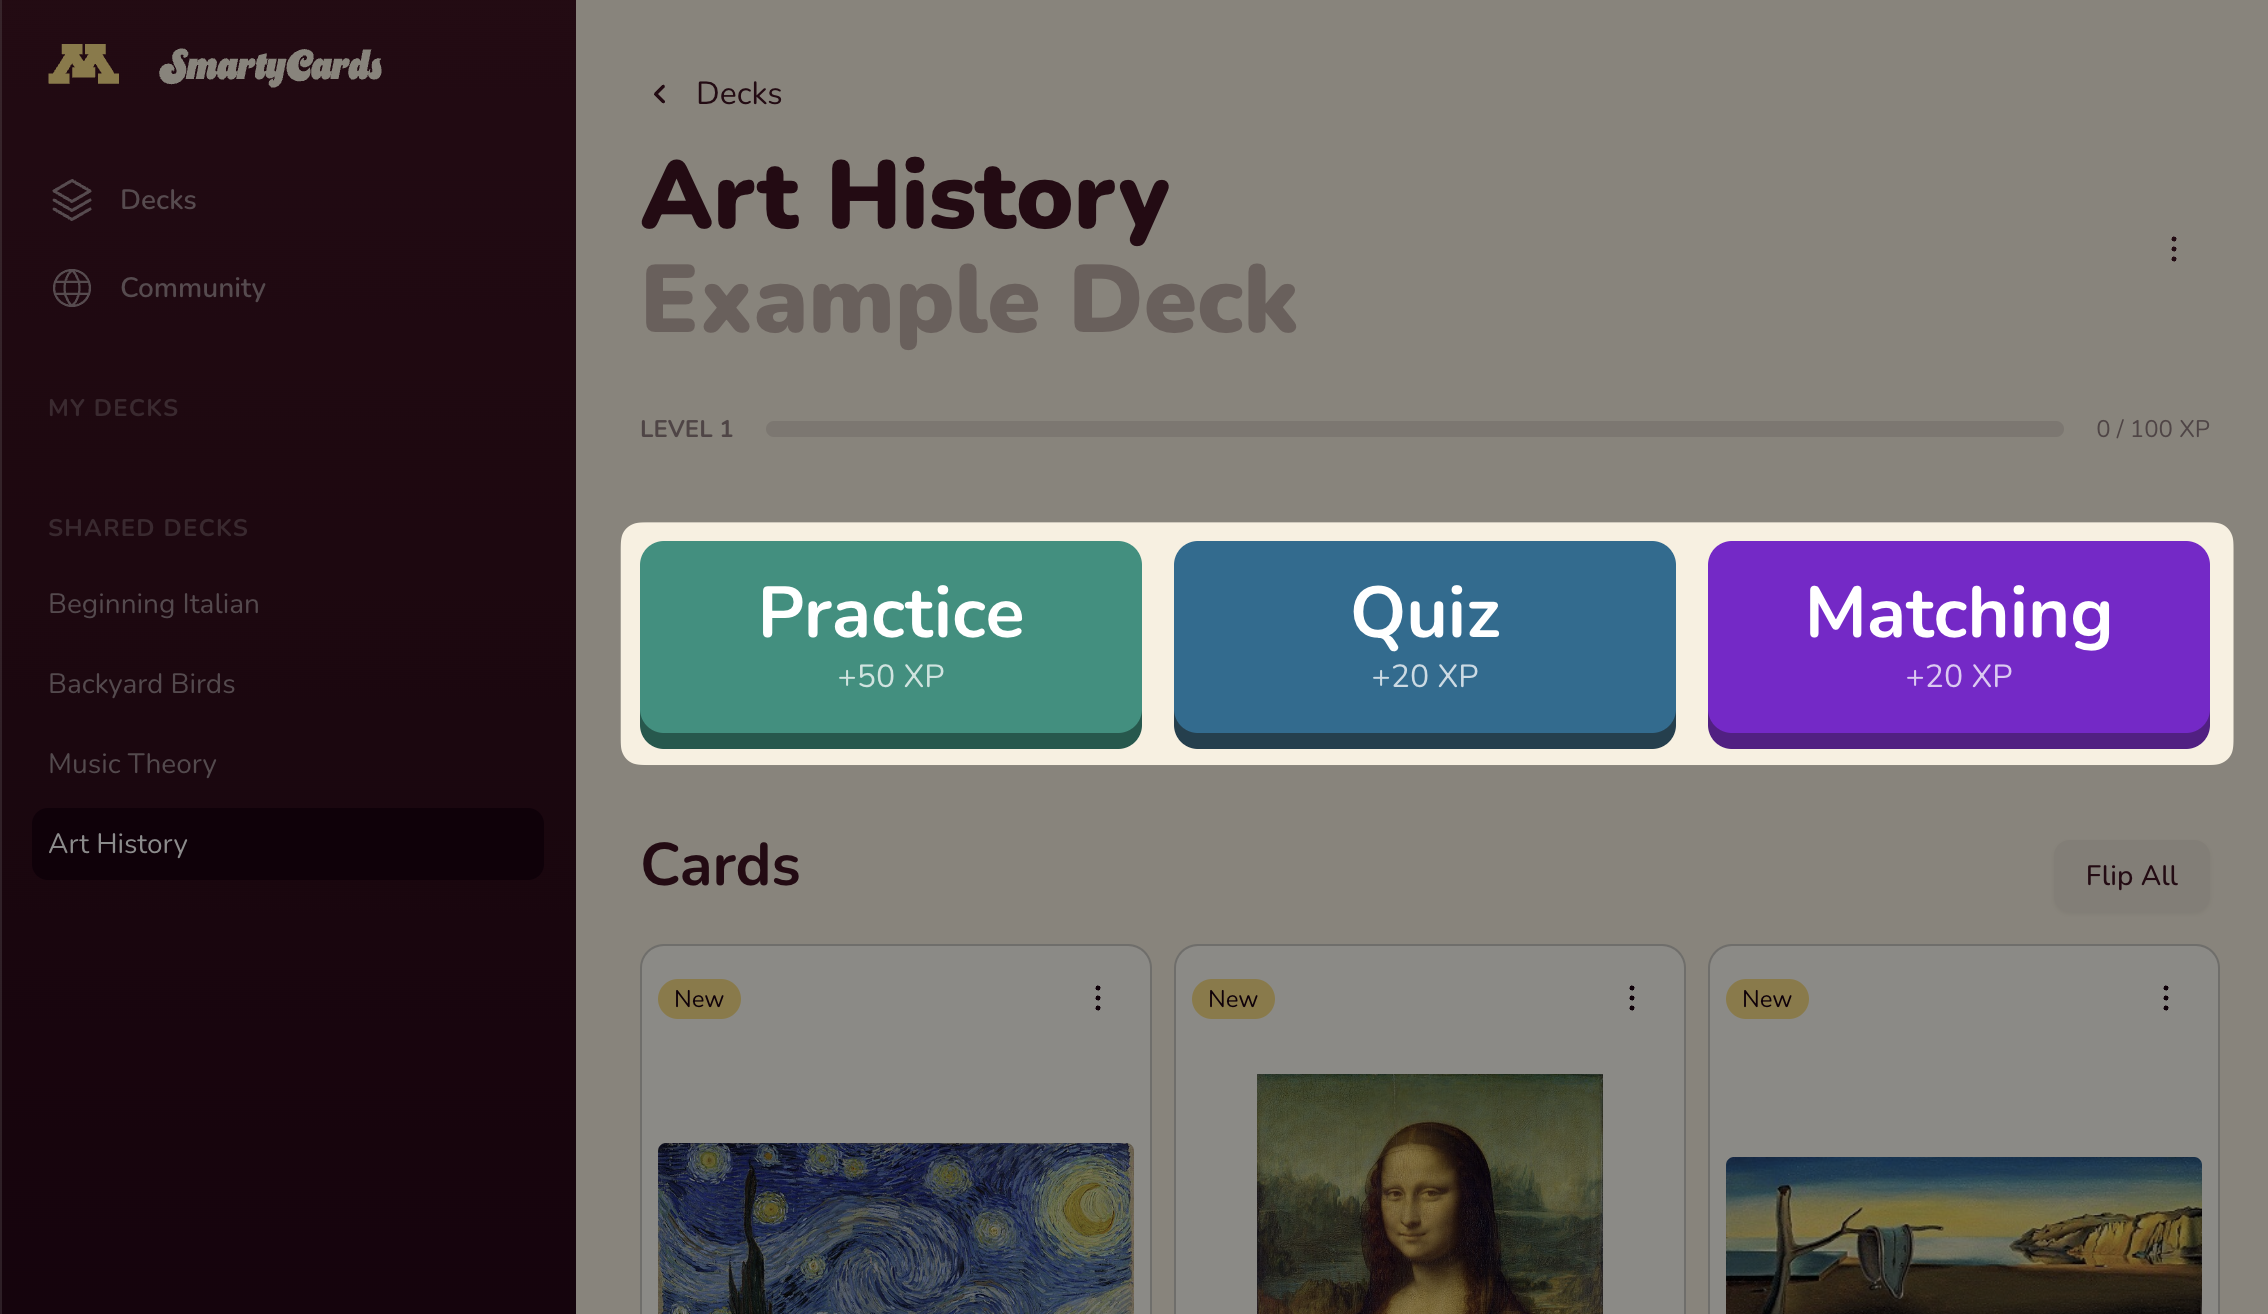
SmartyCards has 3 activities to help you study:
INFO
Have an idea for a new activity? Share it: latistecharch@umn.edu